Art & Craft
Sustainability Wooden Village
By Julie Applin
|
MAKE THESE SCRAP WOOD FESTIVE HOUSES
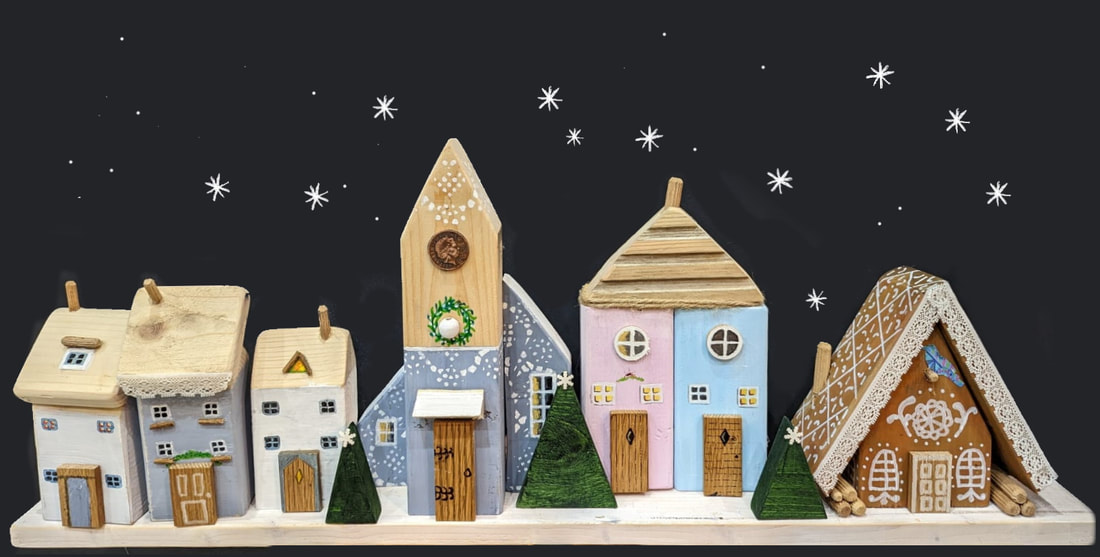
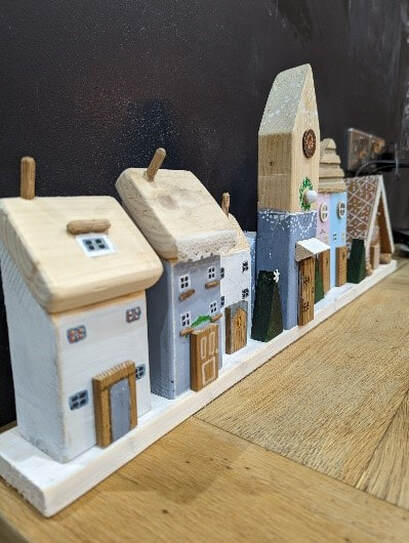
IT’S FUN, FAMILY-FRIENDLY AND FREE! Keep the family entertained over the winter holidays by making your own charming hamlet out of scrap wood and recycled materials. The cute little cottages stand 13-26 cm high x 6.5 cm wide and are made out of CLS stud walling timber this is thick enough for the houses to stand up without needing further support and I wanted to use whatever I found in the garage rather than buying new. A decking off-cut was spotted in the garden shed and the kindling supply was raided! The gingerbread house, trees and base were made out of a 6cm wide x 2 cm thick plank. For wood supplies, ask around your family and friends or sometimes DIY stores sell off-cuts cheaply. You might find an interesting piece of fallen wood on a country walk or washed-up on the beach which can accessorise your buildings. After sourcing my wood for the cottages, I set aside a short plank of wood (70cm) to use for a base, if you are planning to display on a mantlepiece or shelf, you can skip this bit. You don’t need to have lots of tools to make basic cottage like the ones below. If you own a hand saw only, it might be better to cut the houses from a flatter piece of wood using simple cuts to form a point for the roof shape. Get the children involved with prepping the wood so they can learn sawing skills by watching or having a go under supervision. Young people can also learn about sustainable living by recycling and not throwing away materials. The house shapes were sanded down and the sharp edges were rounded-off by using a coarse grit sandpaper firstly, then a finer grade for a smooth finish to make the houses look more interesting and less like blocks of wood! Next, decide how you want the cottages to look, a Nordic palette and style was used here. For more inspiration, search Instagram or Pinterest for scrap wood houses. The houses were painted with mixed artist’s acrylic paints but emulsion tester pots/ left over water- based paint could also be used. In the picture below, I played around with sanding the painted houses back to distress them and then decided to keep the solid painted look! Copydex glue was used to add the rooftops and doors, a hot glue gun could be used too. |
The beauty of folk art is the wood cutting doesn’t need to be very accurate, in fact it adds to the appeal if things are a little wonky, so this project is really forgiving. I tried to set the chimneys on a slight angle to add to the folky look.
To paint the windows; it’s easier to paint white squares first, let it dry, then use a pencil or fine felt tipped pen to detail the window panes, this gives much more control. Colour some panes a warm amber to make it look like someone is at home by the fire!
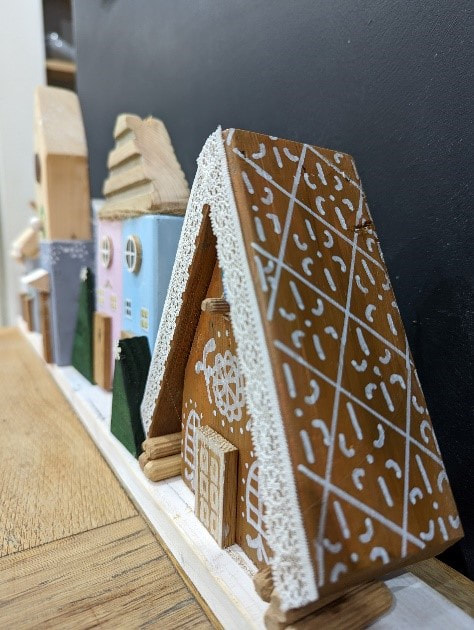
For the gingerbread house the use of a fine-tipped liquid chalk marker made life so much easier.
For creating an individual look you could cover your houses in fabrics scraps or hessian, used wrapping paper, images from old Christmas cards(see bird on the gingerbread house) and use bits of cork, old buttons, coins etc to finish. A paper doily was employed to create a stencilled pattern on the clock tower and some lace found in the sewing kit trimmed some of the houses.
Washti tape and decoupage paper, or patterned paper napkins would also work with PVA glue to fix. The chimneys were made from carpenters dowelling found in my toolbox, I did drill holes and glue to fit these but paper straws might be an option or black nails hammered into the roof look really good too.
The doors were made from a wood edging strip, this was handy because the width was a perfect size for the doors so sawing the appropriate lengths was all that was needed.
The houses seem to look better if they are of varying height, placed close together and arranged slightly higgledy-piggledy. Lastly, I cut out simple triangles of wood for the trees, stiff cardboard would be a good alternative if sawing wood is not for you.
Set aside prep time beforehand to source, cut and sand the wood and about a half day to paint and decorate.
Creating these little beauties provides hours of very enjoyable entertainment for all the family, they cost very little in materials and I had fun raiding my half-forgotten stashes of crafting materials!
Crafty Christmas
By Julie Applin and Lyn Unsworth
This year we have been researching and have gathered our Eco Christmas Tips to inspire everyone to have a waste free and more environmentally friendly Christmas.
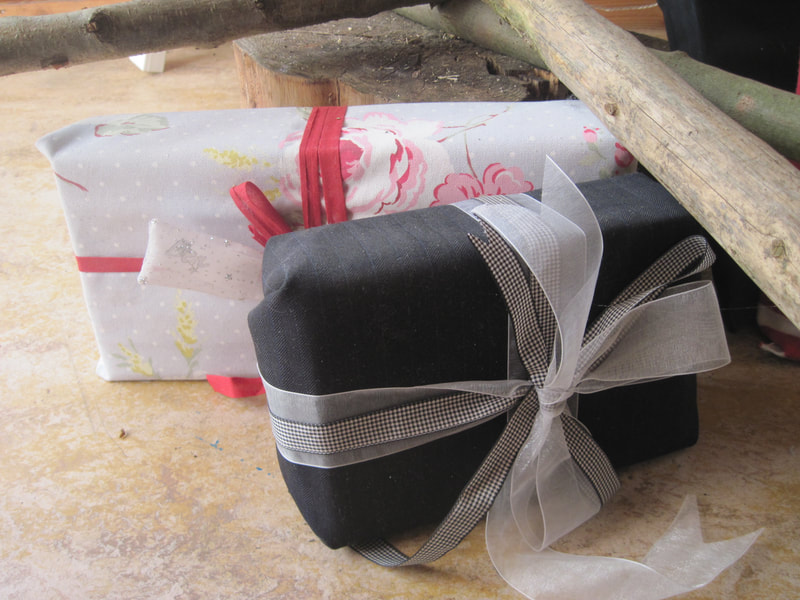
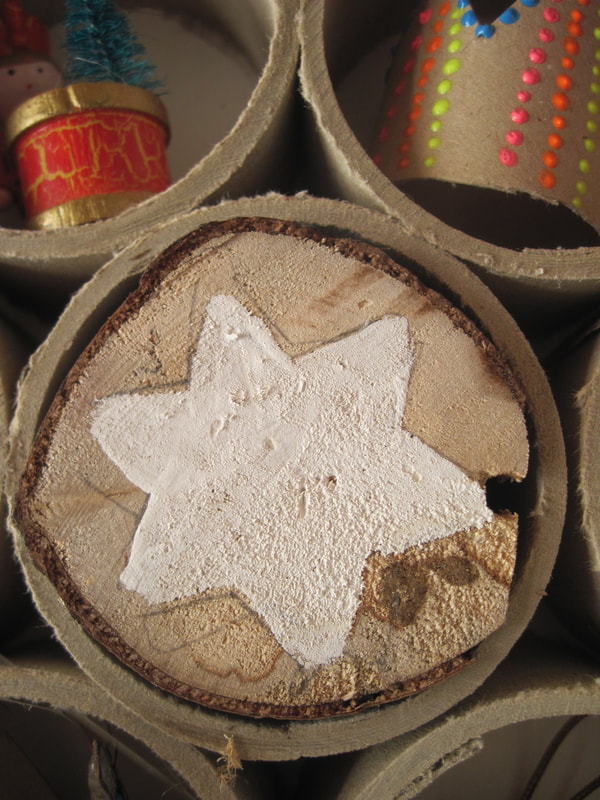
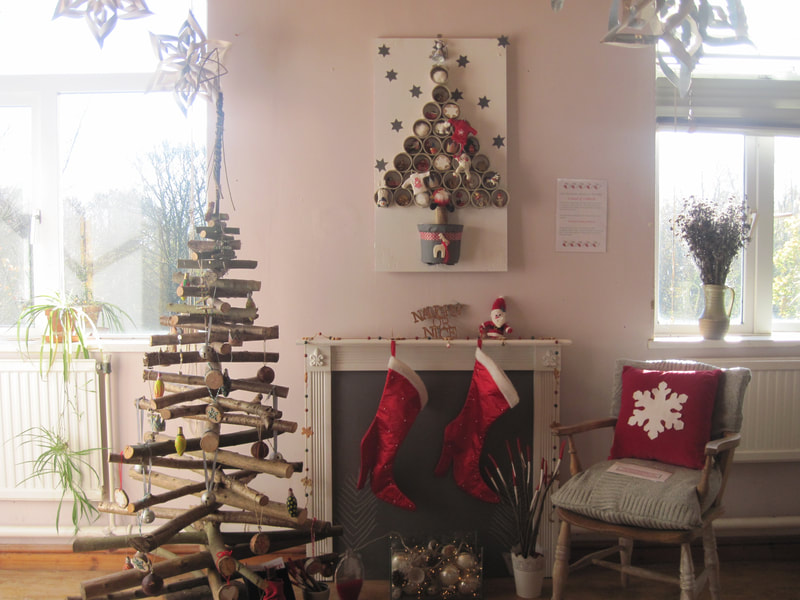
Everything used to create the display above has been made from re-used, upcycled or preloved items.
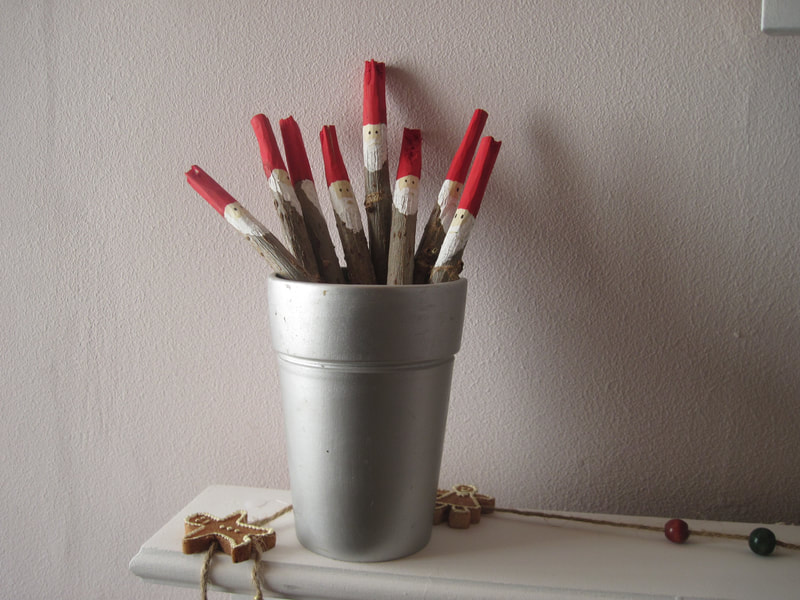
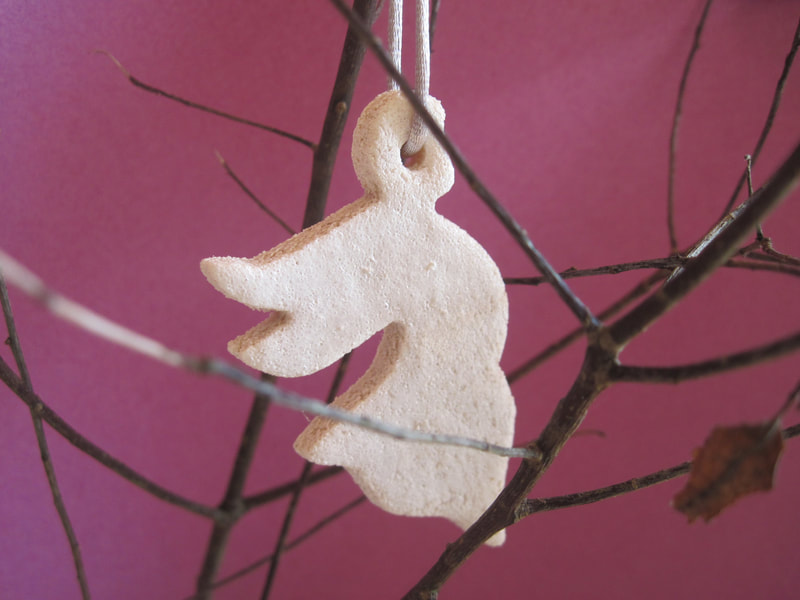
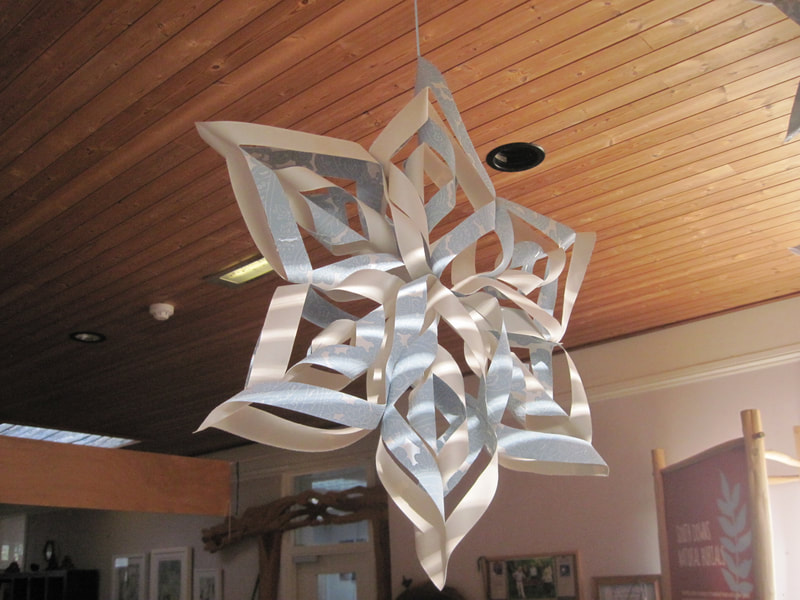
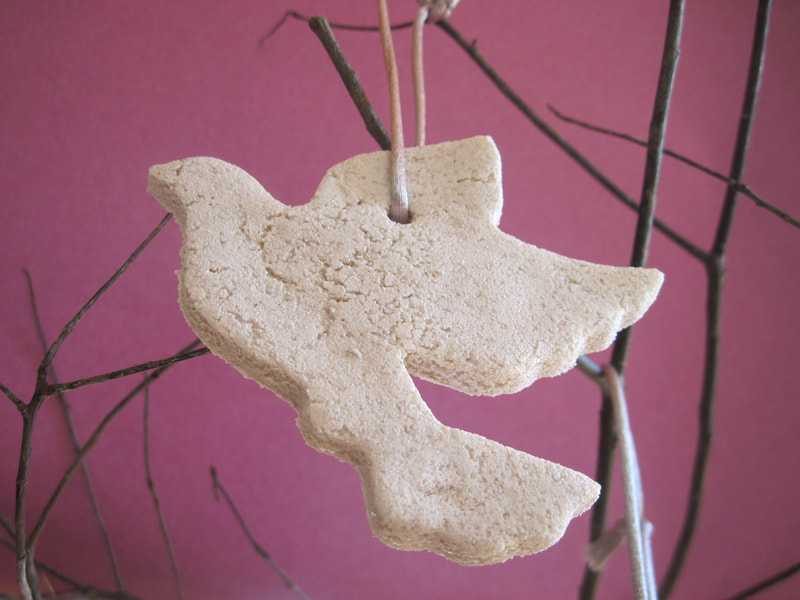
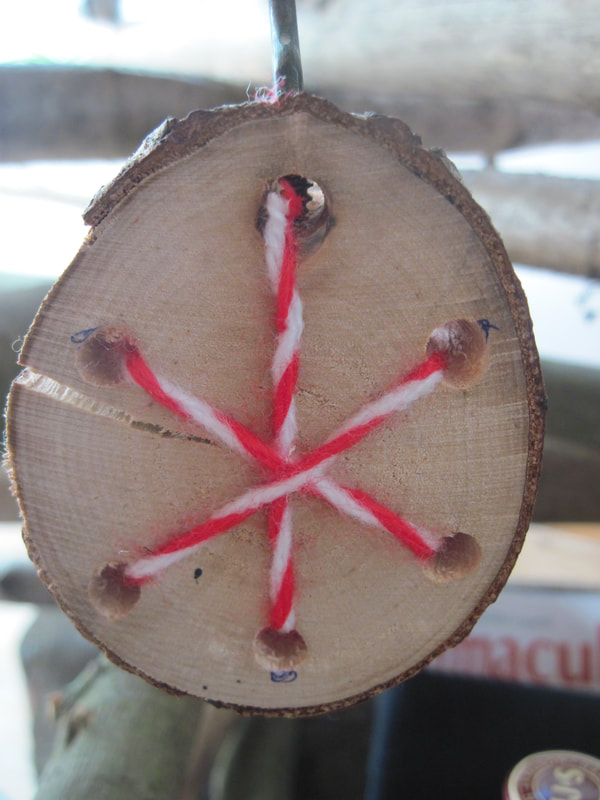
The snow flake is made from off cuts of wall paper and the fireplace was found at the local recycling centre. The Christmas Santa sticks were made from material foraged from the hedgerow and the Christmas decorations were handmade from salt dough. Our creations aim to inspire others to make our own decorations and gifts.
The snow flake is made from off cuts of wall paper and the fireplace was found at the local recycling centre. The Christmas Santa sticks were made from material foraged from the hedgerow and the Christmas decorations were handmade from salt dough. Our creations aim to inspire others to make our own decorations and gifts.
|
|
Digital Christmas CardsSend one of our digital cards and all funds go to our fundraising campaign.
It’s never been easier to swap to Digital Christmas Cards. Think how much paper and plastic wrapping would be saved if we stopped sending lots of Christmas cards.
The Sustainability Centre has created digital Christmas cards a "Don’t Send Me A Card" Eco Christmas Trees |

